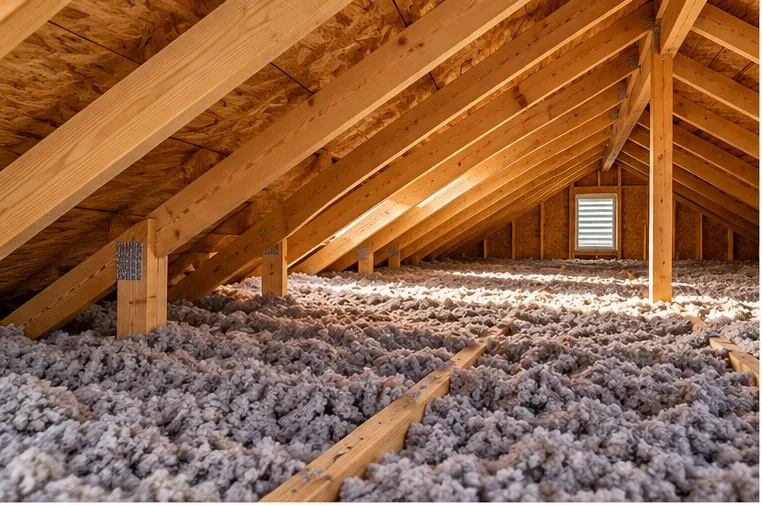
Quick estimate
These assume blown cellulose or fiberglass over bare or lightly insulated joists. If you already have insulation, you need less material and the cost drops proportionally — which is why a calculation for your actual attic beats any average.
Cost by attic size
Adding R-49 with blown cellulose, over bare joists:
| Attic size | DIY materials | Professional installed |
|---|---|---|
| 500 sq ft | $340–$490 | $600–$1,150 |
| 1,000 sq ft | $610–$890 | $900–$1,850 |
| 1,500 sq ft | $880–$1,290 | $1,300–$2,750 |
| 2,000 sq ft | $1,150–$1,690 | $1,750–$3,650 |
Professional pricing doesn't scale down linearly. A 500 sq ft attic costs more per square foot than a 2,000 sq ft one, because mobilisation, setup, and minimum crew time are fixed. Most contractors have a minimum job charge around $400–$700.
Cost by material
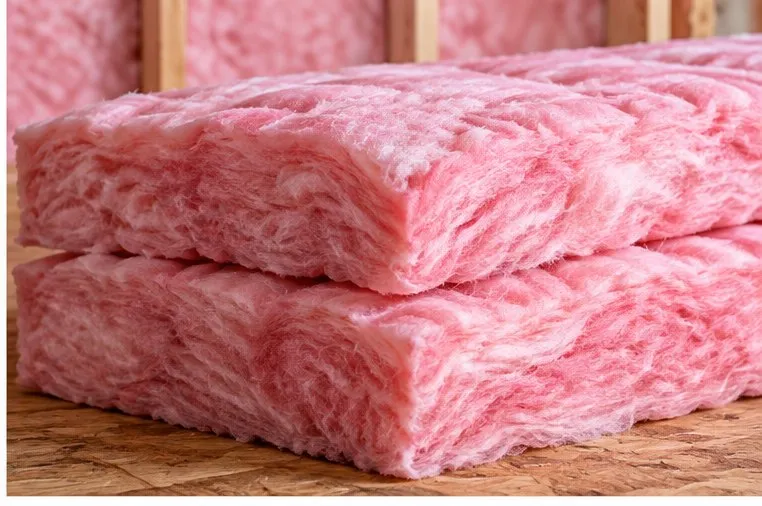 Fiberglass batts
- Installed
- $0.90 – $2.10
- R/inch
- R-3.1 – R-3.4
- Best for
- Budget projects, open joists
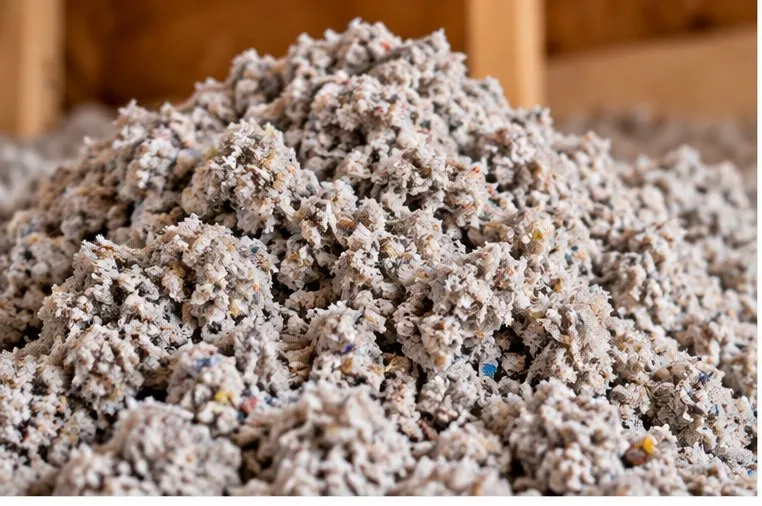 Cellulose (blown)
- Installed
- $1.05 – $2.10
- R/inch
- R-3.2 – R-3.8
- Best for
- Hard-to-reach areas, top-ups
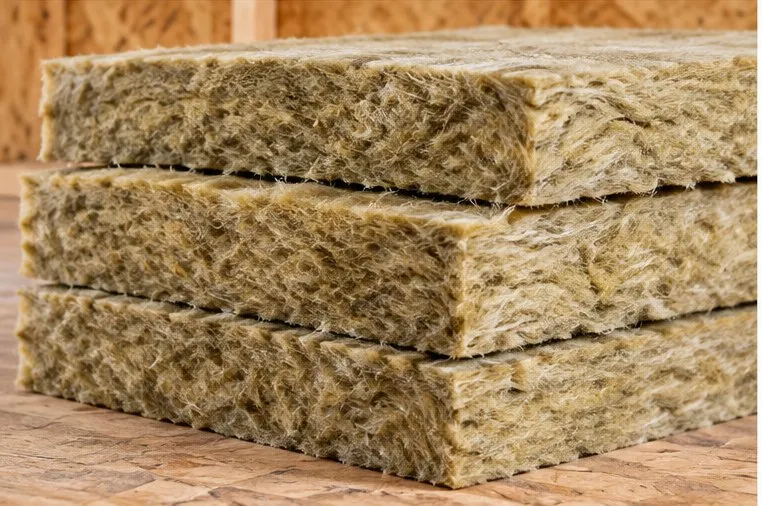 Mineral wool
- Installed
- $1.80 – $3.20
- R/inch
- R-3.7 – R-4.2
- Best for
- Fire resistance, sound
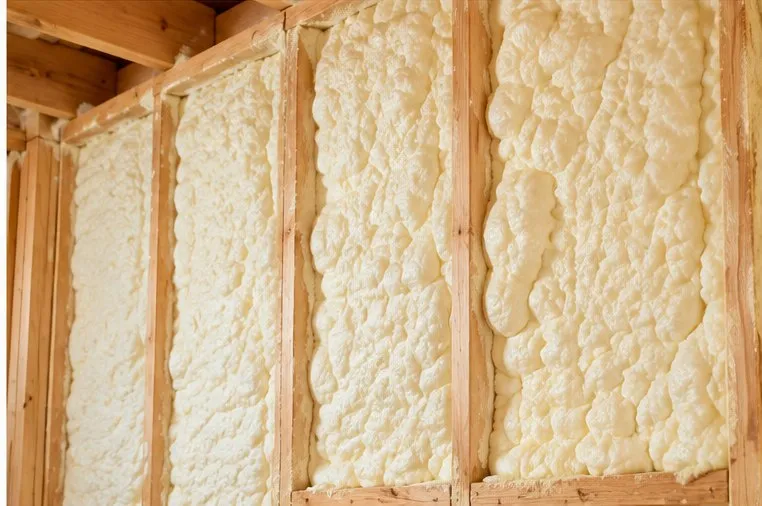 Spray foam
- Installed
- $1.35 – $4.50
- R/inch
- R-3.6 – R-7.0
- Best for
- Air sealing, tight depths
Installed cost per square foot at R-30. Costs scale with R-value, so an R-60 attic is roughly double these figures. Blown fiberglass sits close to cellulose on price ($1.05–$2.05 installed) but needs about 40% more depth for the same R-value.
Advantages and limitations
- Advantage: Lowest cost per R-value
- Advantage: No equipment needed
- Advantage: Recovers from getting wet
- Limitation: Gaps and compression cut performance
- Limitation: Poor fit around obstructions
- Advantage: Fills gaps batts leave open
- Advantage: Mostly recycled content
- Advantage: Good sound damping
- Limitation: Settles 10–20% over time
- Limitation: Holds water if the roof leaks
- Advantage: Non-combustible
- Advantage: Best acoustic performance
- Advantage: Sheds water rather than absorbing
- Limitation: Two to three times the cost
- Limitation: Not available as blown loose fill
- Advantage: Air seals and insulates at once
- Advantage: Highest R-value per inch
- Advantage: Conforms to any shape
- Limitation: Three to five times the cost
- Limitation: Install quality is critical
- Limitation: Permanent once applied
Material versus labor
Where the money goes
A 1,240 sq ft attic taken from bare joists to R-60.
Doing it yourself
$930–$1,650
- Insulation material$1060 · 83%
- Air sealing supplies$90 · 7%
- Blower rental$50 · 4%
- Safety gear$80 · 6%
Hiring it out
$2,750–$5,450
- Material$1440 · 35%
- Labor, overhead, disposal$2670 · 65%
DIY components come from the calculation engine. The professional split uses the 30–40% material share typical of installed work — we take the midpoint rather than deriving it, because labor rates are the part we cannot model from your inputs.Our assumptions.
In a professional job, material is typically 30–40% of the bill and labor is the rest. That ratio is why DIY saves so much on a straightforward attic — you're eliminating the majority of the cost, not a slice of it.
It also explains why professional quotes vary so widely between regions. The material costs roughly the same everywhere; crew time does not.
Removal and air sealing
Removing old insulation: $1.00–$2.00 per sq ft. You usually don't need to. Remove only if it's wet, moldy, rodent-infested, fire-damaged, or vermiculite that may contain asbestos. Asbestos abatement is a separate licensed job and costs considerably more.
Air sealing: $0.05–$0.10 per sq ft in materials, or $350–$750 done professionally. Do it before insulating — afterwards the gaps are buried and unreachable. On a leaky house this does more for comfort than the insulation itself.
Baffles: $2–$4 each, one per rafter bay. Non-optional with blown insulation unless you want blocked soffit vents and ice dams.
What changes the price
- Existing insulation. Biggest single factor. Topping up R-19 to R-60 costs a third less than starting from bare joists.
- Access. A pull-down stair in a hallway is cheap. A tight scuttle hole in a closet adds hours.
- Clearance. Low-slope attics where crews crawl take substantially longer.
- Obstructions. Ductwork, recessed lights needing IC-rated covers, and knob-and-tube wiring all add labor.
- Region. Labor rates vary by roughly 40% across US metros.
- Season. Autumn is peak demand. Quotes are often better in late spring.
What the job actually involves
Understanding the four steps is the fastest way to judge whether a quote is complete — and whether you want to do it yourself.
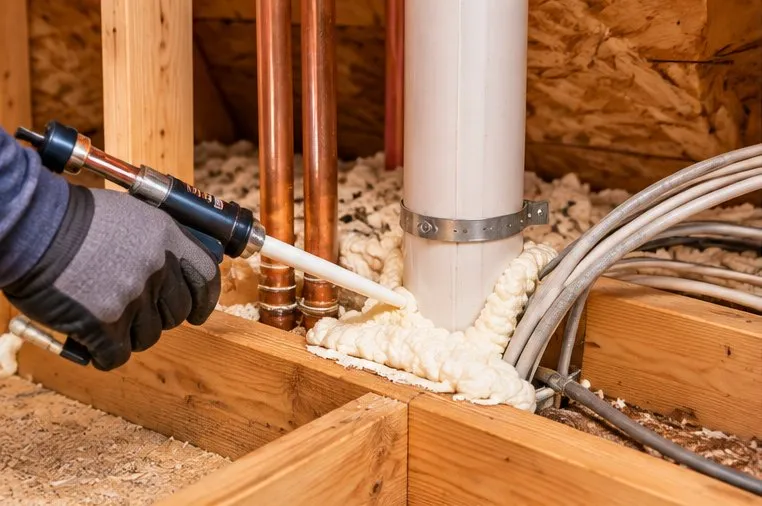
Step 1: Air seal
Foam and caulk the gaps around flues, wiring, plumbing, and top plates.
Do this first. Once insulation is down you cannot reach any of it.
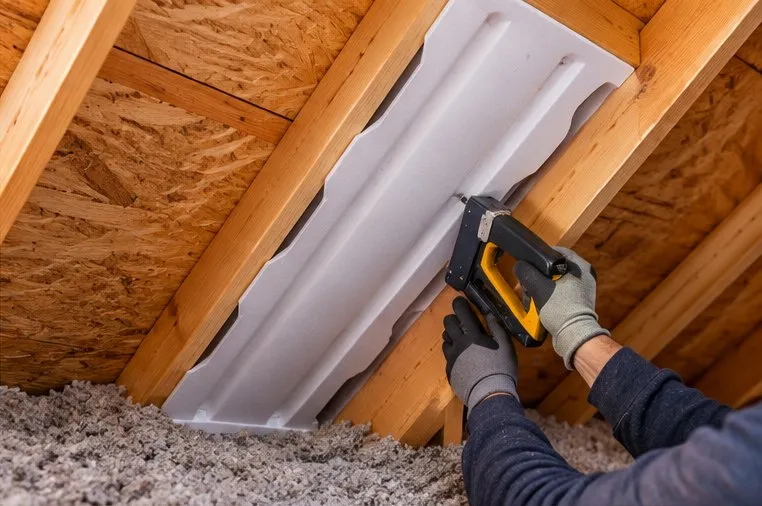
Step 2: Install baffles
Staple a vent baffle into each rafter bay at the eaves.
Blocked soffit vents cause moisture build-up and ice dams.
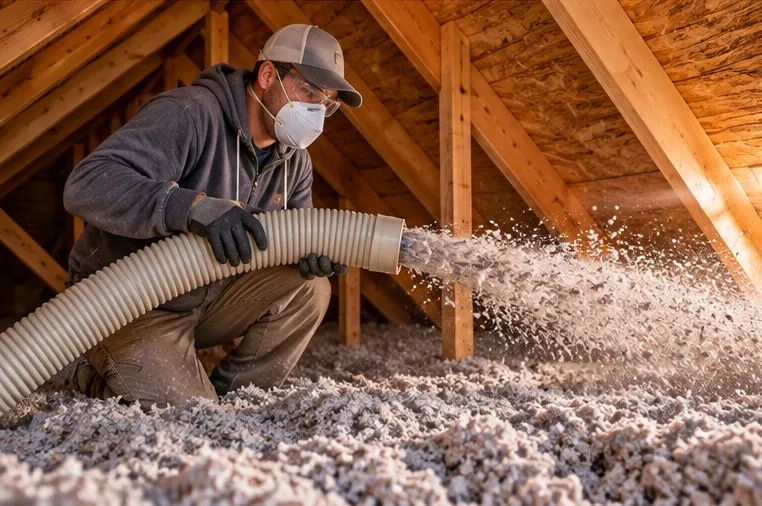
Step 3: Add insulation
Blow or lay to the depth your calculation calls for, working back toward the hatch.
Set depth markers first — judging depth by eye is unreliable.
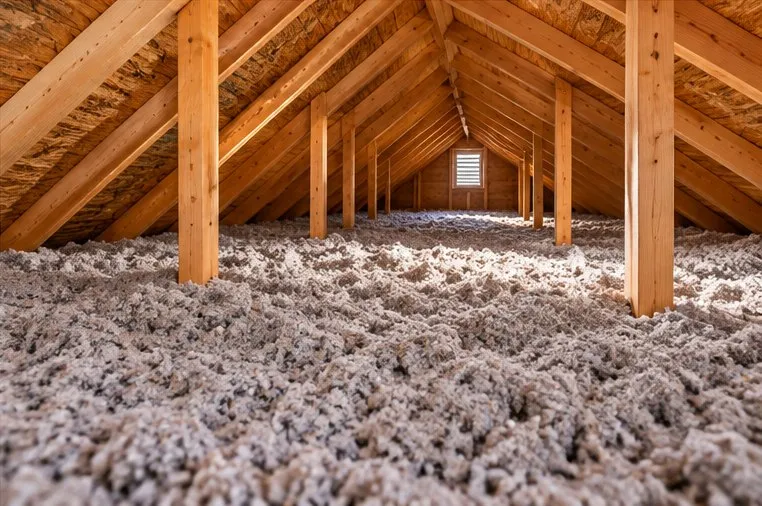
Step 4: Check and clean up
Walk the depth markers, fill low spots, then insulate the hatch itself.
An uninsulated hatch undoes a surprising share of the work.
DIY versus professional
On a straightforward attic — walkable, accessible, no moisture or wiring problems — DIY typically saves 50–60% and takes one long day with two people.
Hire out when:
- Access is tight or clearance is under about 3 feet
- There's knob-and-tube wiring, active moisture, mold, or rodents
- You're considering spray foam, which is genuinely not a DIY material
- Old insulation needs removal, which is unpleasant and slow
Get three quotes. Confirm each includes air sealing and baffles — the cheapest quote frequently omits both, which makes it not a comparable number.How getting quotes works.