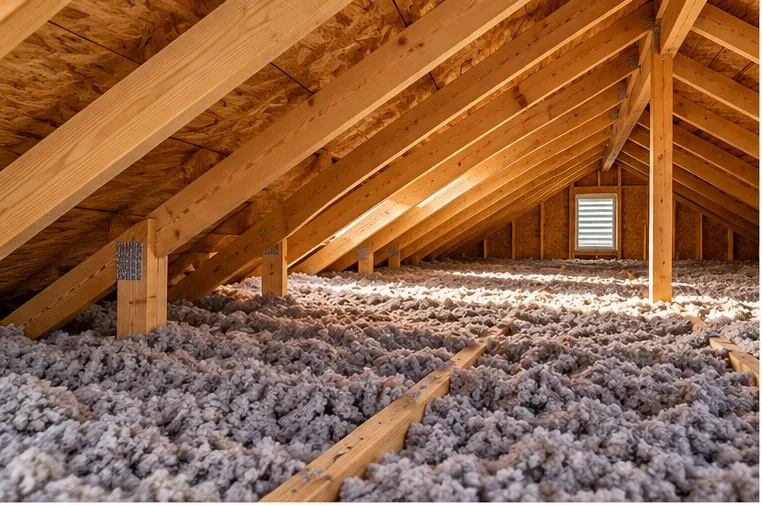
Before you start
This covers insulating an attic floor — the usual retrofit, where insulation sits on the ceiling of the rooms below and the attic itself stays unconditioned. Insulating at the roofline is a different job with different building-science rules.
Stop and get help if you find any of these
- Vermiculite — small gray-brown pellets. May contain asbestos. Do not disturb it.
- Knob-and-tube wiring. Most codes prohibit burying it.
- Damp insulation, staining, or visible mold. Fix the leak first.
- Rodent activity. Contaminated insulation needs removing, not covering.
1. Check it is a DIY job
You want a walkable floor, enough headroom to work (roughly three feet or more), and safe access. If you are crawling on your side over joists in a hot space, the job will take three times as long and the result will be worse.
The DIY vs professional guide has the full list of conditions that make this a contractor job.
2. Inspect and measure
Measure the attic floor — length and width of the flat surface between the joists, not the sloped roof. If you cannot get in safely, the footprint of the rooms below is close enough.
Then measure what is already there. Push a ruler down to the ceiling drywall in several places and take the typical value, not the deepest. Identify the material by sight: gray shredded paper is cellulose, fluffy white or yellow is loose fiberglass, pink or yellow rolls are batts.
3. Work out your target
Your target R-value depends on your climate zone — R-49 in the warmest US zones, R-60 nearly everywhere else. You need the difference between that and what you already have, not the full number.
4. Air seal
The step that most affects the result, and the one most commonly skipped.
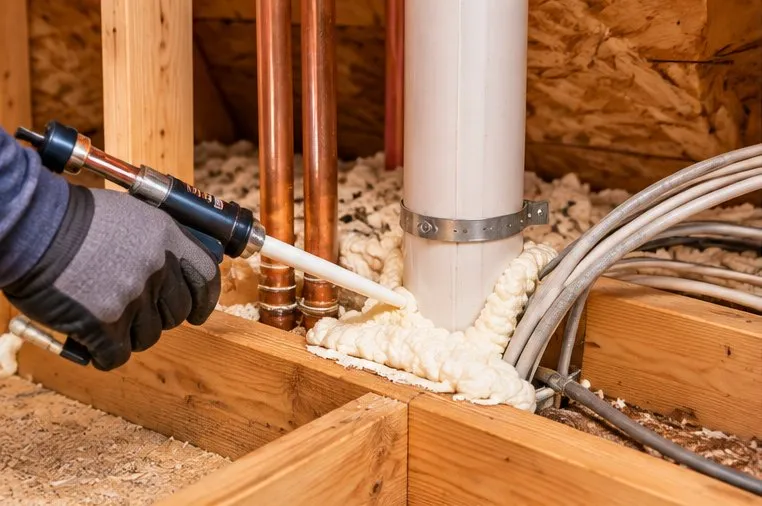
Insulation slows heat conduction. It does nothing about air moving through gaps — and in a typical house, air leakage through the ceiling plane is a large share of the heat loss. Insulation laid over an unsealed ceiling underperforms badly.
Work through every penetration: plumbing stacks, wiring holes, flue chases, bathroom fan housings, the top plates of interior walls, and the gap around any chimney.
5. Protect the ventilation
Baffles keep the soffit vents breathing once the insulation gets deep.
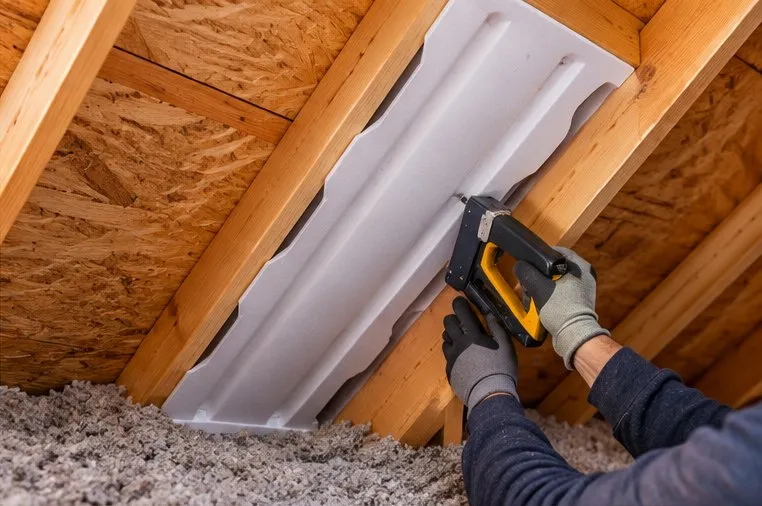
Staple a vent baffle into every rafter bay at the eaves. They hold a clear channel from the soffit vent up into the attic so air can still move.
Without them, blown insulation packs into the eaves and blocks the vents. The result is trapped moisture in winter, and ice dams where meltwater refreezes at the cold edge of the roof.
7. Install the insulation
Two people, a few hours, working backwards toward the hatch.
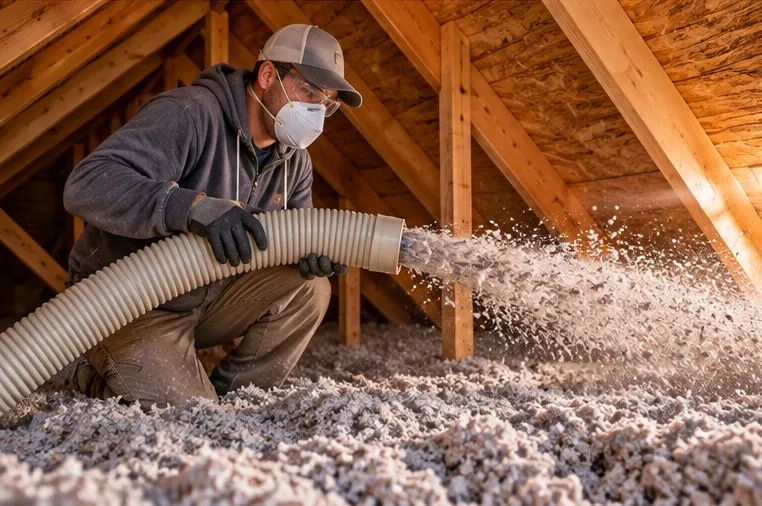
Set depth markers before you start — a ruler stapled to a joist every few feet, marked at your target depth. Judging depth by eye across a whole attic is unreliable, and depth is the only thing that determines whether you hit your R-value.
One person feeds the hopper below, one works the hose in the attic. Start at the far corner and work backwards so you are never standing on finished insulation.
Blow slightly deeper than target with cellulose, which settles 10–20% over its life.
9. Verify and clean up
Check the depth you actually achieved, not the depth you intended.
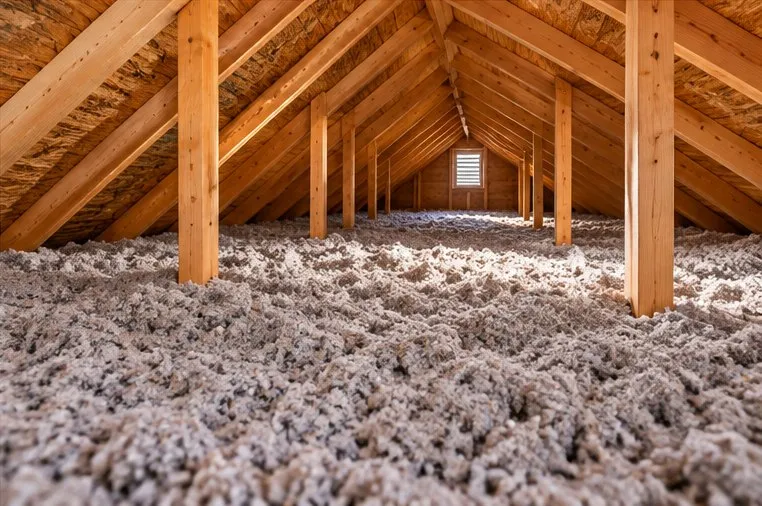
Walk the perimeter and check every depth marker. Low spots are normal — top them up now while the blower is still on site.
Pull the walk boards out last, filling behind you as you go toward the hatch.
6. Prepare the fixtures
Recessed lights that are not IC-rated cannot be covered — they need a rigid cover fitted over them first, kept clear of the housing. If the fixture has no IC marking, assume it is not rated.
Bathroom and kitchen fans should vent outside, not into the attic. If one terminates in the attic space, fix that now — you are about to bury the evidence under a foot of insulation.
8. The attic hatch
An uninsulated hatch is a hole in the middle of everything you just did. Glue rigid foam board to the back of the hatch panel to roughly match the surrounding depth, and weatherstrip the frame so it seals when closed.
Pull-down stairs are worse — fit an insulated stair cover box. They cost about $150 and are the single highest-return item left once the floor is done.
Common mistakes
- Insulating before air sealing. The most common and most costly. The gaps are unreachable afterwards.
- Skipping baffles. Blocked soffit vents cause moisture and ice dams.
- Laying faced batts over existing insulation. The trapped second vapor barrier is where condensation collects. Use unfaced batts or loose fill.
- Compressing batts to fit. A compressed batt loses R-value proportionally.
- Judging depth by eye. Set markers. You will be short in places you were sure were fine.
- Burying recessed lights or flues. A fire risk, not a performance issue.
- Forgetting the hatch. Undoes a surprising share of the work.