The decision in one table
Any single item in the right-hand column is enough to make this a professional job. They are not preferences — they are conditions where DIY gets expensive, dangerous, or illegal.
- Attic has a walkable floor and 4+ ft clearanceIncludedNot included
- Blown-in or batts over existing insulationIncludedNot included
- You can get a blower and material up thereIncludedNot included
- Clearance under 3 ft, or no safe accessNot includedIncluded
- Knob-and-tube wiring presentNot includedIncluded
- Active moisture, mold, or rodent activityNot includedIncluded
- Old insulation needs removing firstNot includedIncluded
- Spray foam or dense-pack is the right materialNot includedIncluded
- Vermiculite that may contain asbestosNot includedIncluded
- You have back, knee, or mobility limitationsNot includedIncluded
What you actually save
For a 1,240 sq ft attic taken from bare joists to R-60 in climate zone 5, our calculator puts DIY at $930–$1,650 against $2,750–$5,450 installed — a saving of roughly $1,100 to $4,520.
The reason the gap is so wide is that material is only 30–40% of a professional bill. You are not saving a slice; you are eliminating the majority of the cost.
Where the money goes
A 1,240 sq ft attic taken from bare joists to R-60.
Doing it yourself
$930–$1,650
- Insulation material$1060 · 83%
- Air sealing supplies$90 · 7%
- Blower rental$50 · 4%
- Safety gear$80 · 6%
Hiring it out
$2,750–$5,450
- Material$1440 · 35%
- Labor, overhead, disposal$2670 · 65%
DIY components come from the calculation engine. The professional split uses the 30–40% material share typical of installed work — we take the midpoint rather than deriving it, because labor rates are the part we cannot model from your inputs.Our assumptions.
Worth noting what the DIY figure already includes: material, air sealing supplies, blower rental, and safety gear. It is not a material-only number dressed up as a total.
When to hire out
Safety and legality
- Knob-and-tube wiring. Most codes prohibit burying it. It needs replacing before any insulation goes down, which is electrician work.
- Vermiculite. May contain asbestos. The EPA advises leaving it undisturbed and testing before any work. Do not rake it, walk on it, or blow over it.
- Low clearance. Under about three feet, you are working on your side on joists in a hot space. This is where people fall through ceilings.
Where the result depends on skill
- Spray foam. Genuinely not a DIY material — see the open vs closed-cell guide for why.
- Dense-pack walls. Needs correct density or it settles and leaves a gap at the top.
- Removal. Slow, filthy, and needs a vacuum truck to do properly.
When DIY is fine
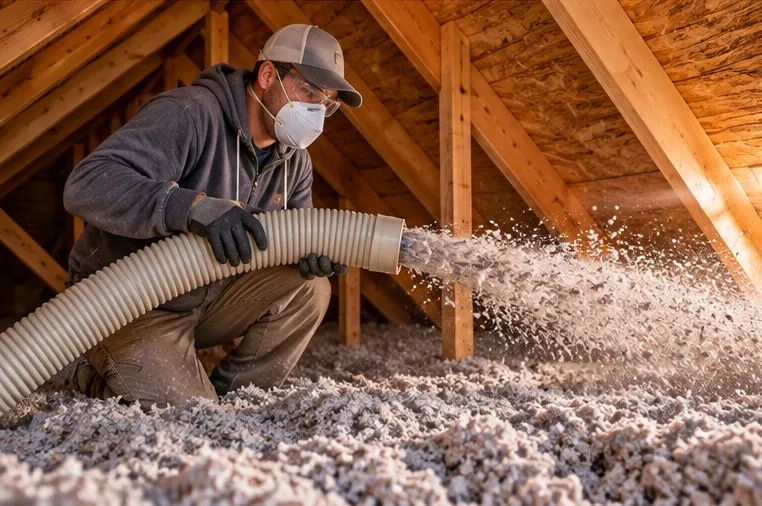
If your attic has a walkable floor, reasonable headroom, no wiring or moisture problems, and you are adding blown-in or batts over what is there — this is a normal weekend project that a competent adult can do well.
The work is not technically difficult. It is dusty, hot, and awkward, and the main skill is patience: air seal properly before you start, and keep checking depth as you go.
What the day actually looks like
- Morning — air seal. Two to three hours foaming and caulking around penetrations. This is the part that most affects the result and the part most often skipped.
- Midday — baffles and prep. One baffle per rafter bay at the eaves, covers over non-IC recessed lights, depth markers set.
- Afternoon — blow. Two people: one feeding the hopper below, one on the hose. A 1,200 sq ft attic takes roughly two to three hours.
- End — verify. Walk the markers, fill low spots, insulate the hatch, clean up.
Budget a full day for a first attempt. The blowing is the quick part; air sealing and setup take longer than people plan for.
Our step-by-step attic guide covers each stage in detail.
The middle option most people miss
You do not have to choose one or the other. A genuinely good split is:
- You do the air sealing. It is slow, fiddly, cheap in materials, and expensive in labor — the worst thing to pay someone for and the best thing to do yourself.
- They blow the insulation. It is fast with the right equipment, and a crew does in two hours what takes you an afternoon.
Tell the contractor the attic is already air sealed and ask them to quote insulation only. Expect a meaningfully lower number, and you have done the part that most affects comfort.