Adding insulation to an accessible attic is among the most worthwhile things you can do to a house, and one of the few improvements where doing it yourself genuinely saves most of the cost rather than a slice of it.
This page is the overview. The step-by-step guide has the detail.
Is your attic suitable?
Six questions. Any "no" is worth taking seriously.
Can you stand or crouch in most of it?
Under 3 ft of clearance makes this a professional job.
Is there a walkable path to the far corners?
You need somewhere safe to put your feet and your boards.
Is the existing insulation dry and clean?
Damp, moldy, or rodent-contaminated insulation must be removed first.
Is the wiring modern?
Knob-and-tube cannot be buried under most codes.
Is there any vermiculite?
Gray-brown pellets may contain asbestos. Stop and have it tested.
Can two people be there?
One on the hose, one feeding the hopper. Alone it takes far longer.
If several of those gave you pause, read DIY vs professional before buying anything.
What it costs
For a 1,240 sq ft attic with 6 inches of existing insulation, taken to R-60 with blown cellulose in climate zone 5:
Material
$610–$980
52 bags incl. waste
Air sealing
$60–$120
foam, sealant, baffles
Safety gear
$50–$100
if you own none
DIY total
$720–$1,300
blower usually free
The same job quoted out runs $2,050–$4,100. Figures come from the same engine as the calculator —our assumptions.
The four steps
The order is not arbitrary — each step becomes harder or impossible once the next one is done.
How the day runs
Air sealing takes longer than people plan for. The blowing is the quick part.
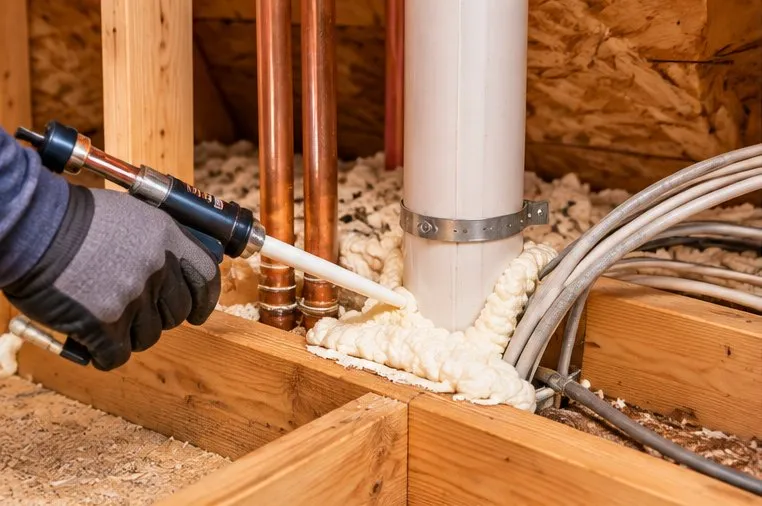
Step 1: Air seal
Foam and caulk the gaps around flues, wiring, plumbing, and top plates.
Do this first. Once insulation is down you cannot reach any of it.
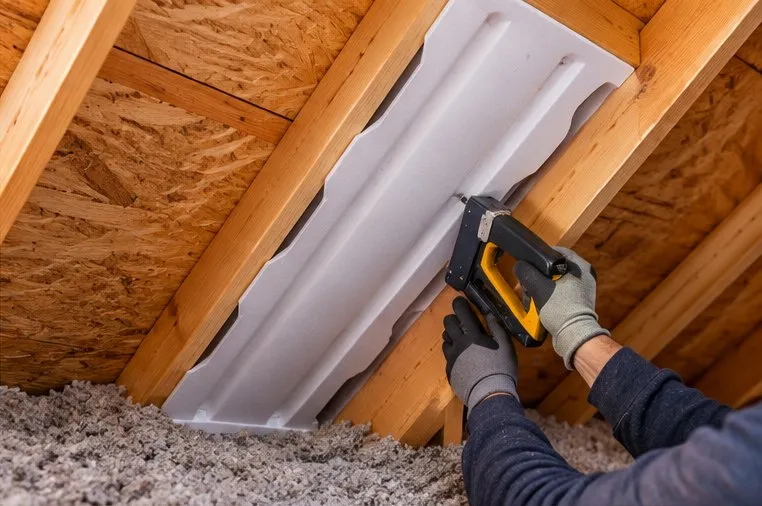
Step 2: Install baffles
Staple a vent baffle into each rafter bay at the eaves.
Blocked soffit vents cause moisture build-up and ice dams.
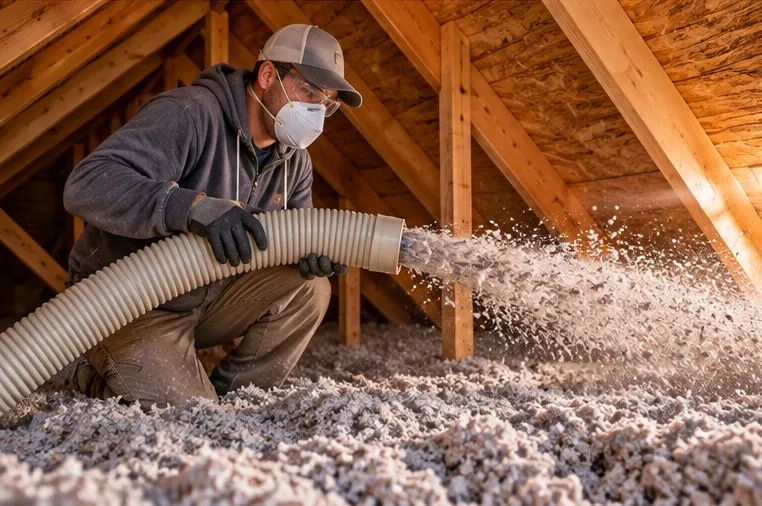
Step 3: Add insulation
Blow or lay to the depth your calculation calls for, working back toward the hatch.
Set depth markers first — judging depth by eye is unreliable.
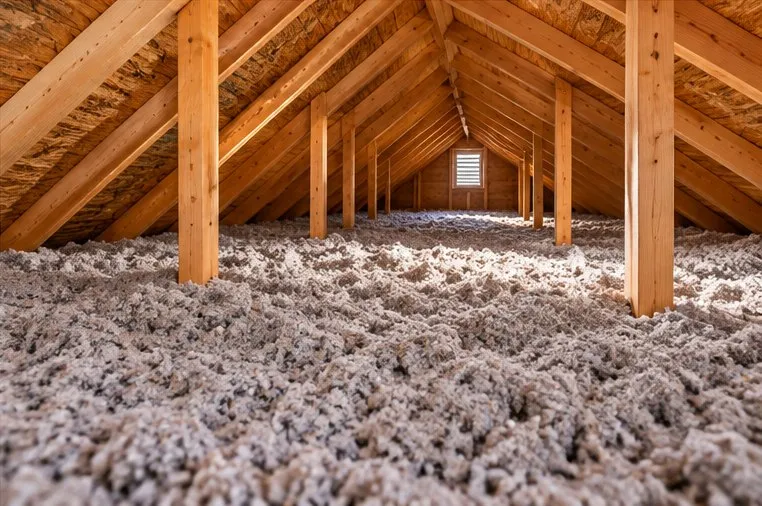
Step 4: Check and clean up
Walk the depth markers, fill low spots, then insulate the hatch itself.
An uninsulated hatch undoes a surprising share of the work.
What to buy
The calculator generates this list for your project. For the example above it comes to:
42 items
10 essential · 11 nice-to-haves not shown
Insulation
The main material, quantity calculated for your space.
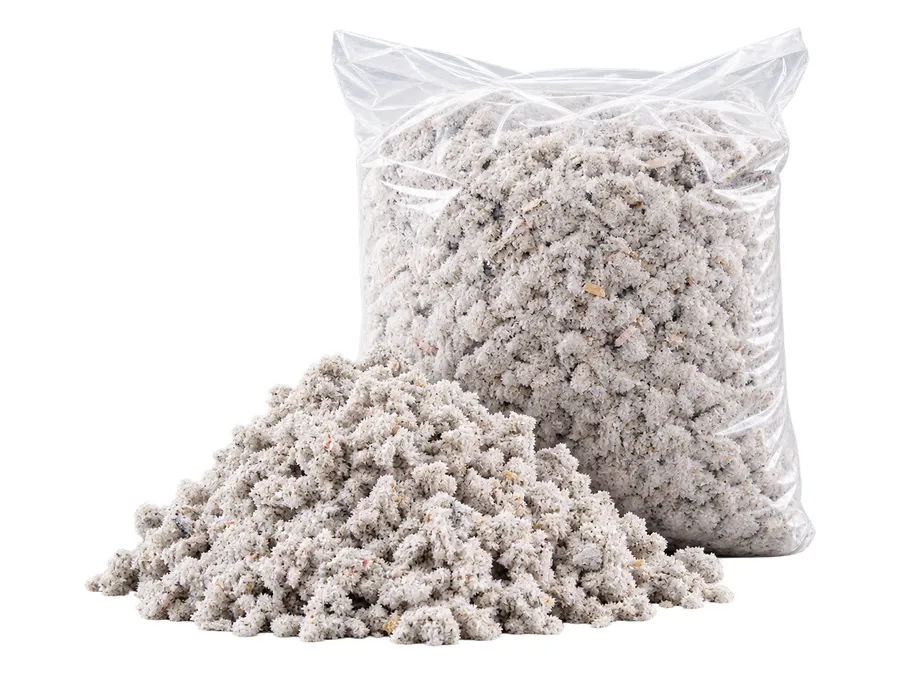
52 bags Blown-in celluloseEssential
Covers 1,240 sq ft at R-45, including 10% waste.
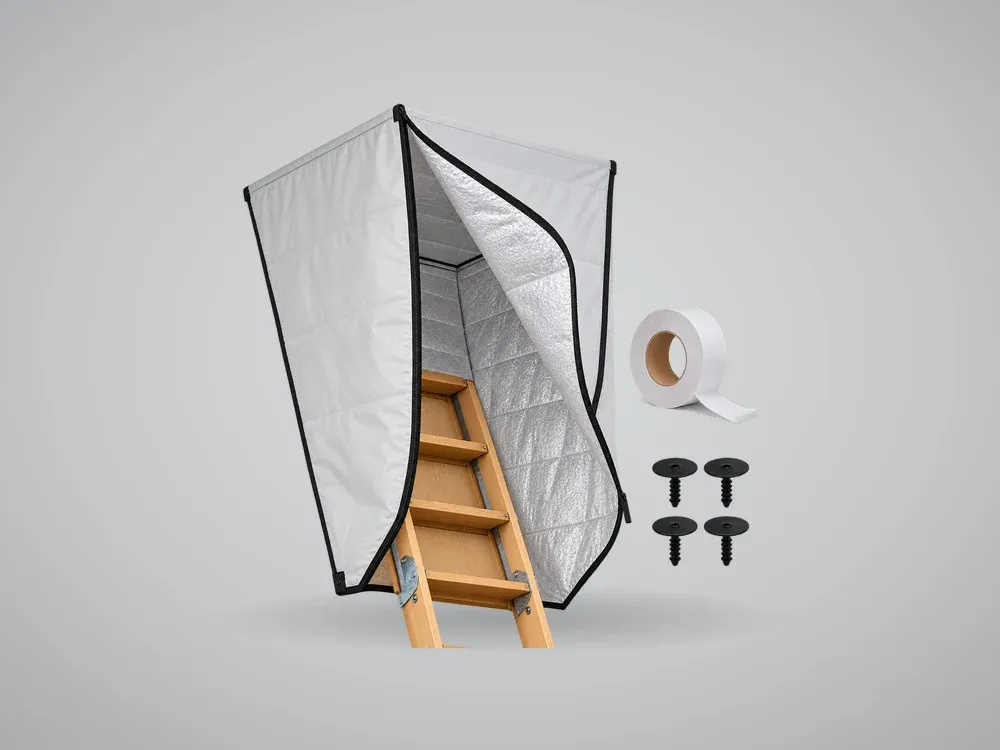
1 each Attic ladder insulation cover
A zipped, insulated tent over the hatch from inside the attic.
Air sealing
Do this before insulating. Sealing leaks does more for comfort than depth alone.
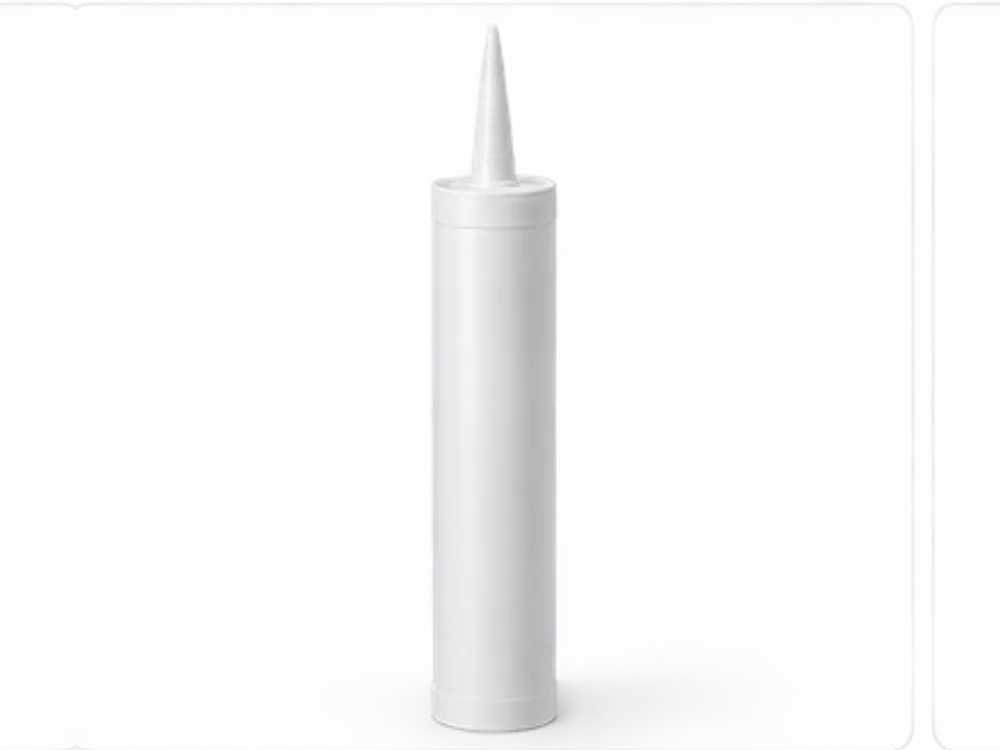
6 tubes Acoustical or latex sealantEssential
Seals top plates and the smaller gaps expanding foam is too coarse for.
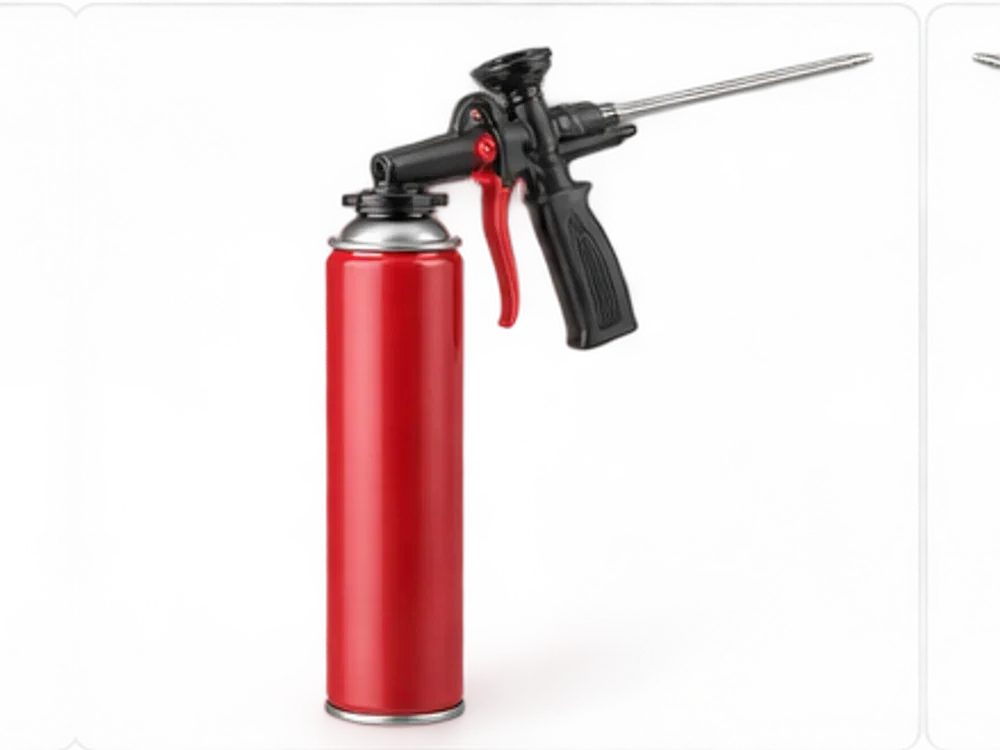
3 cans Fire-rated expanding foamEssential
Seals gaps around flues, wiring and plumbing penetrations.
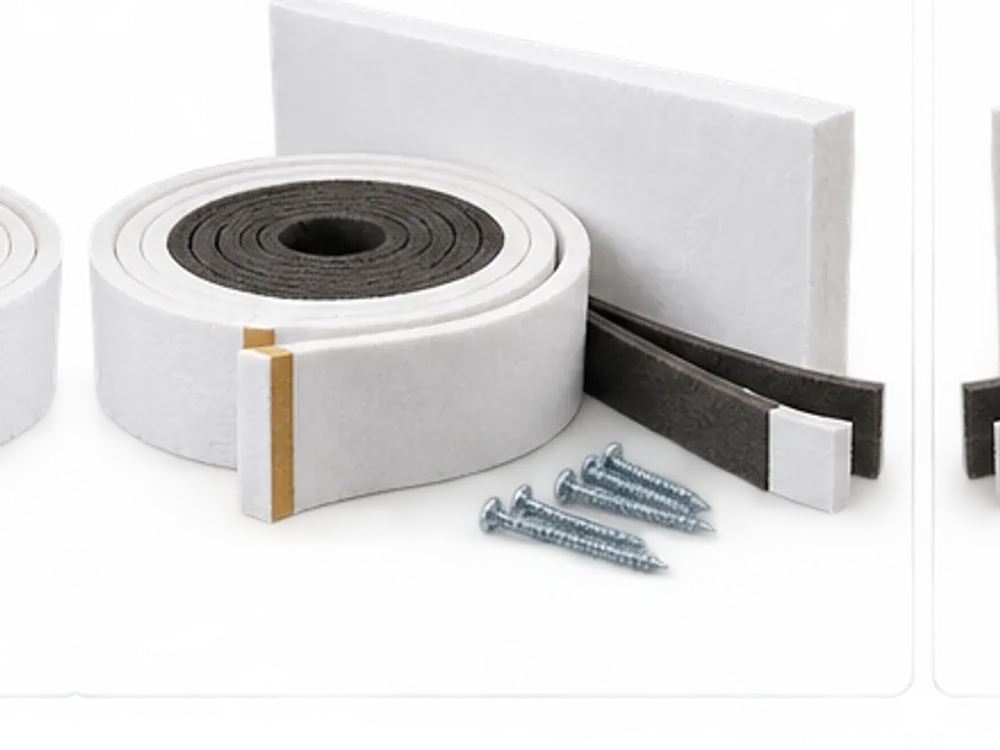
1 kit Attic hatch weatherstrip kit
An uninsulated hatch undoes a surprising share of the work — it is a hole in the ceiling you just spent a weekend insulating around.
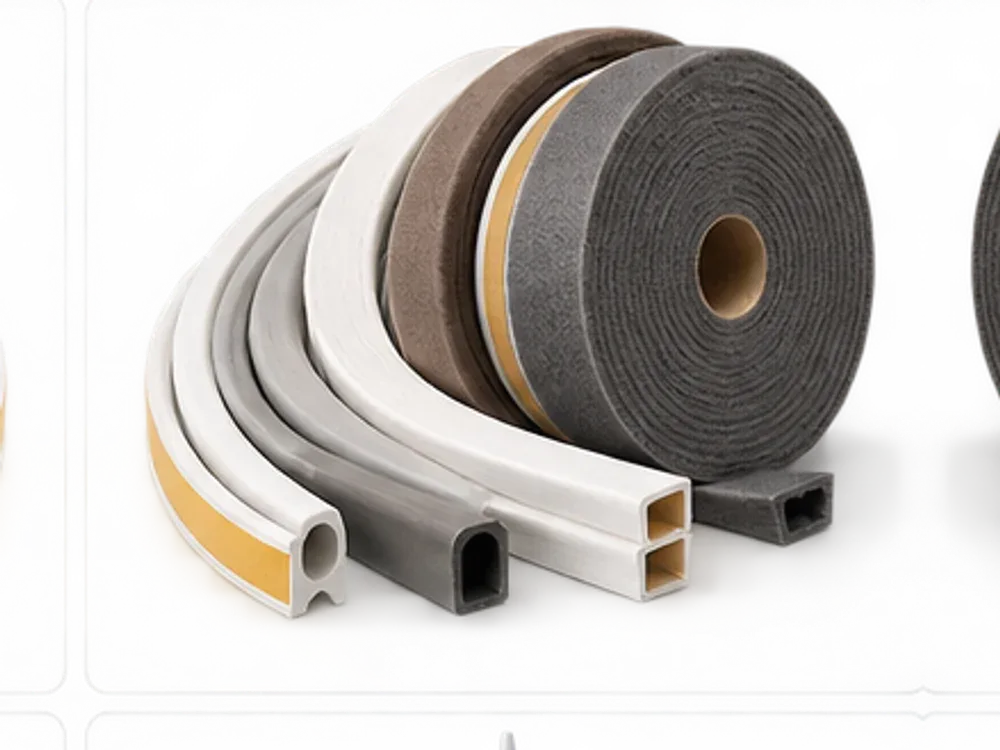
2 rolls Door and window weatherstripping
The leaks you can feel, and the cheapest ones to close.
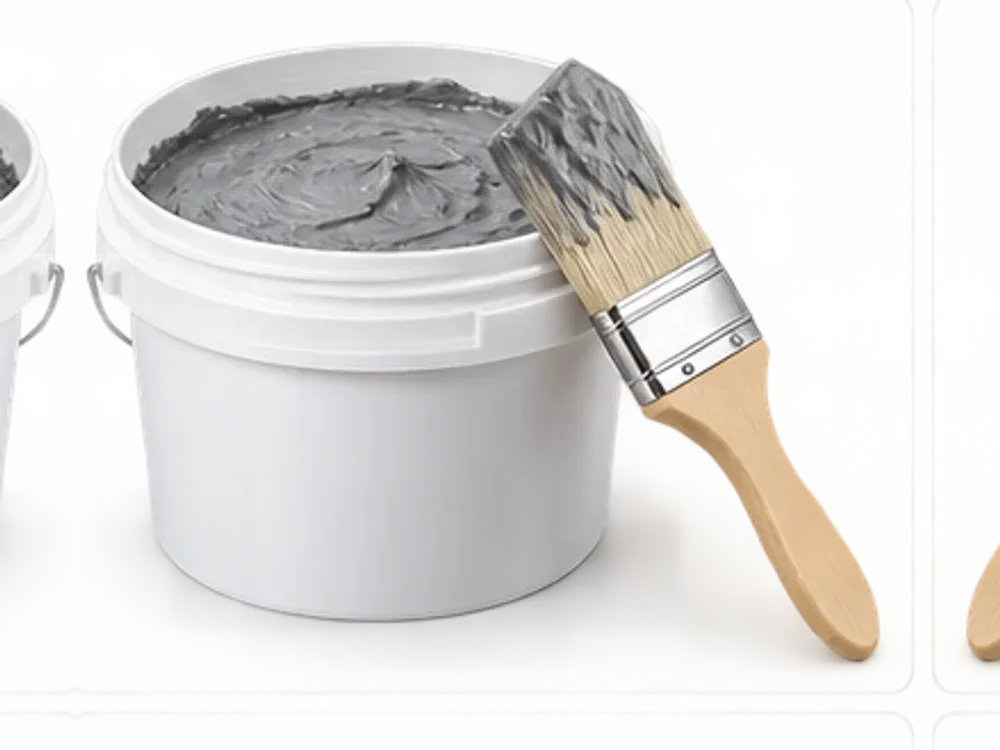
1 tub Duct sealing mastic
If ducts run through the attic or crawl space, they are leaking conditioned air into a space that is effectively outdoors.
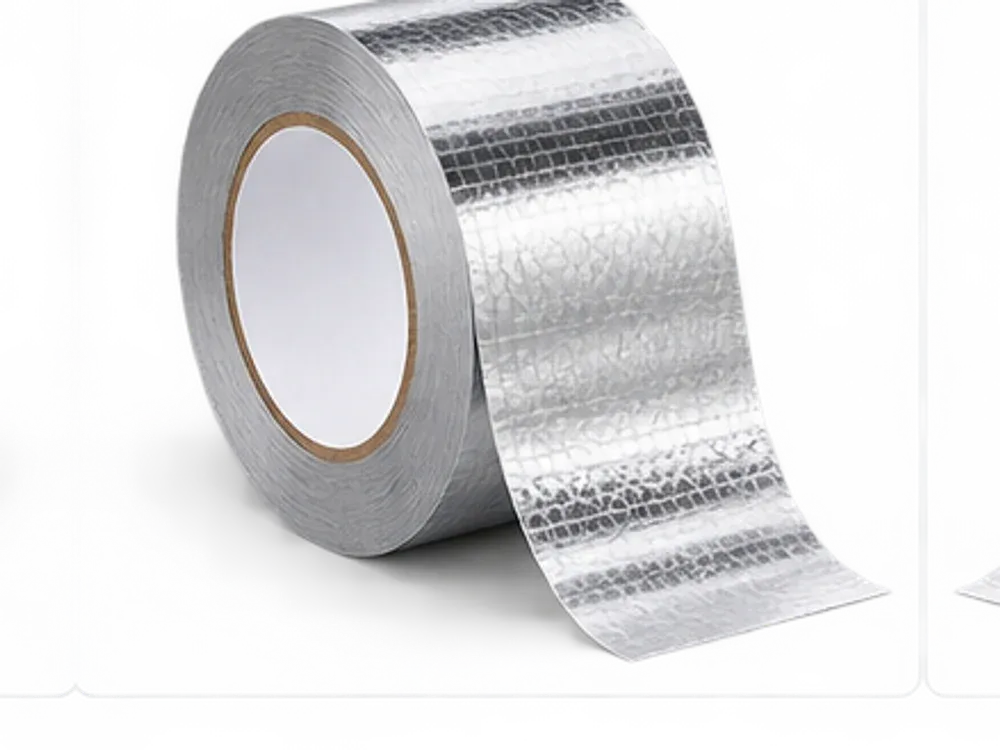
2 rolls Foil HVAC tape
For duct joints and seams. Cloth duct tape fails within a couple of years in an attic; foil tape is what the name was supposed to mean.
Safety gear
Non-negotiable. Loose fibers and decades of attic dust are respiratory hazards.
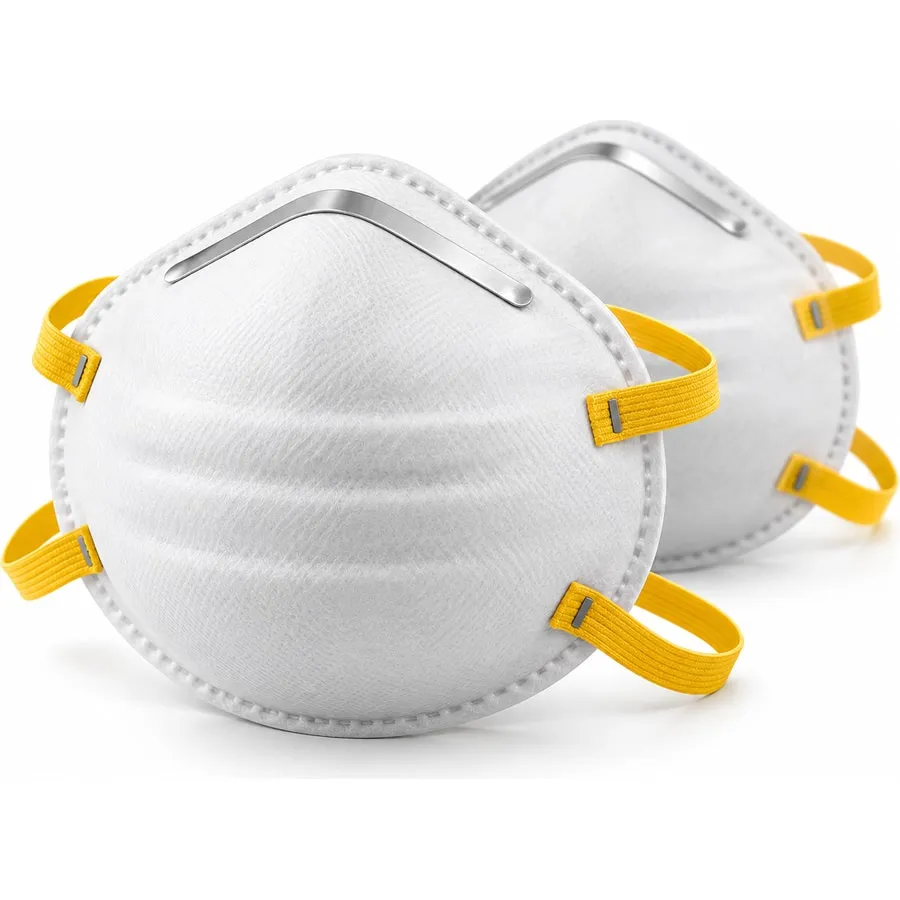
1 each N95 disposable maskEssential
The minimum for loose fibers and settled attic dust, and the one item never to skip.
1 each Sealed safety gogglesEssential
Sealed rather than open-sided, because you will be working below the material and looking up into it.
1 each Work glovesEssential
Fiberglass irritates skin on contact and the fibers are hard to wash out afterwards.

1 each Disposable coveralls
Fiberglass in clothing is genuinely unpleasant and survives a wash.
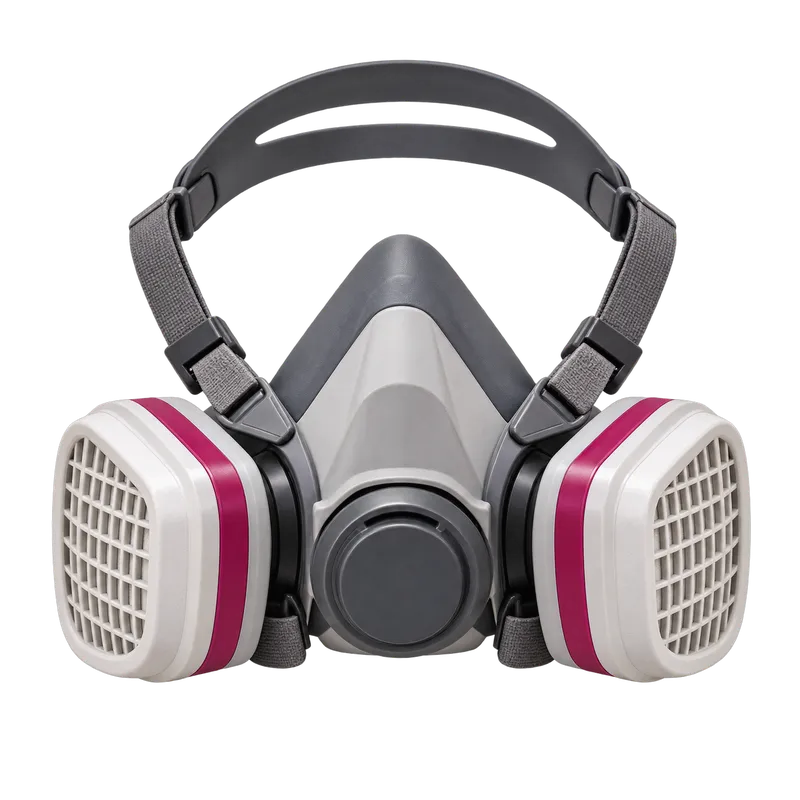
1 each Half-mask respirator
Reusable, seals far better than a disposable, and takes P100 cartridges.

1 each Hearing protection
An insulation blower running in an enclosed attic is loud enough to matter over a full day.
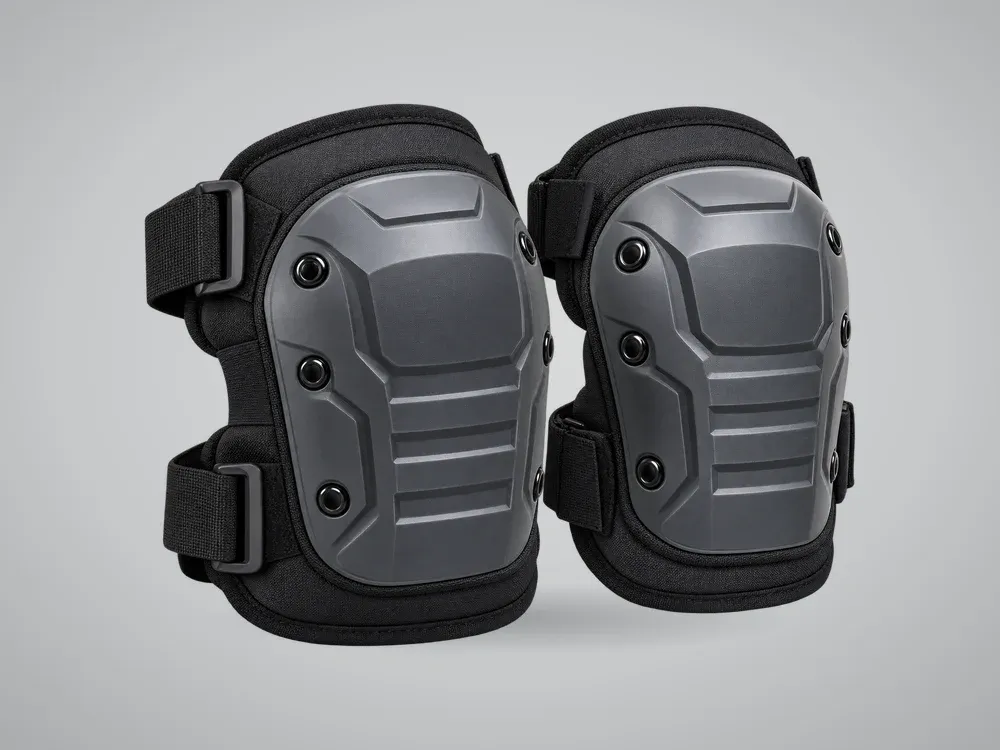
1 each Knee pads
Hours spent kneeling on joists or a crawl space floor.
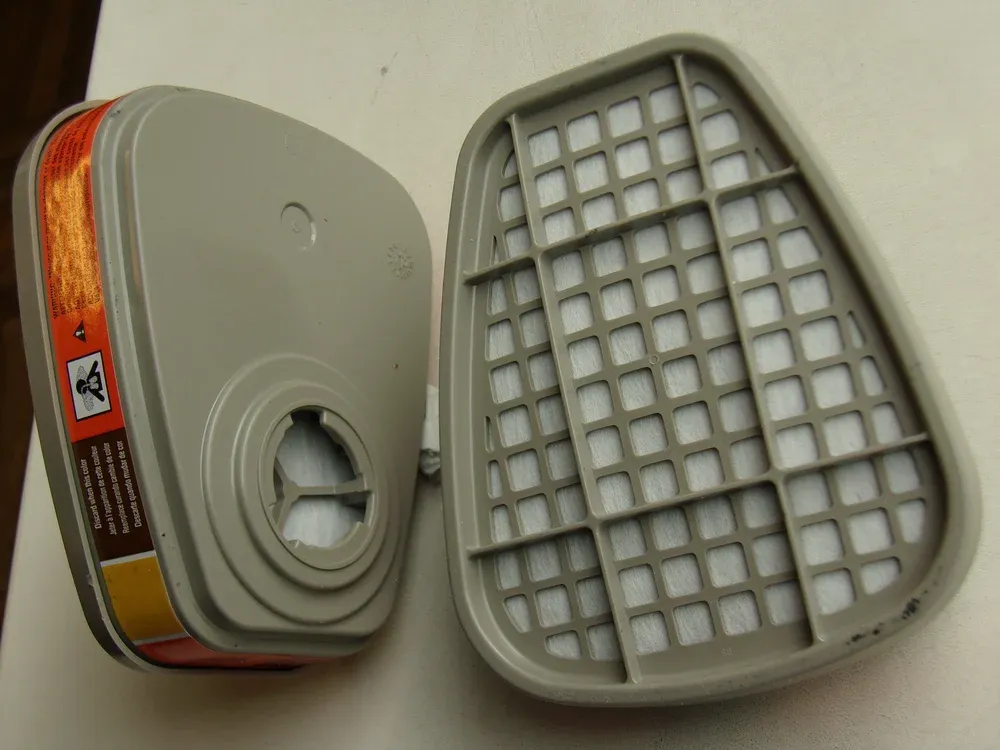
1 each P100 replacement cartridges
Cartridges load up and stop filtering, and a half-mask with spent cartridges is a false sense of safety.
Tools
What the job needs beyond what most people already own.
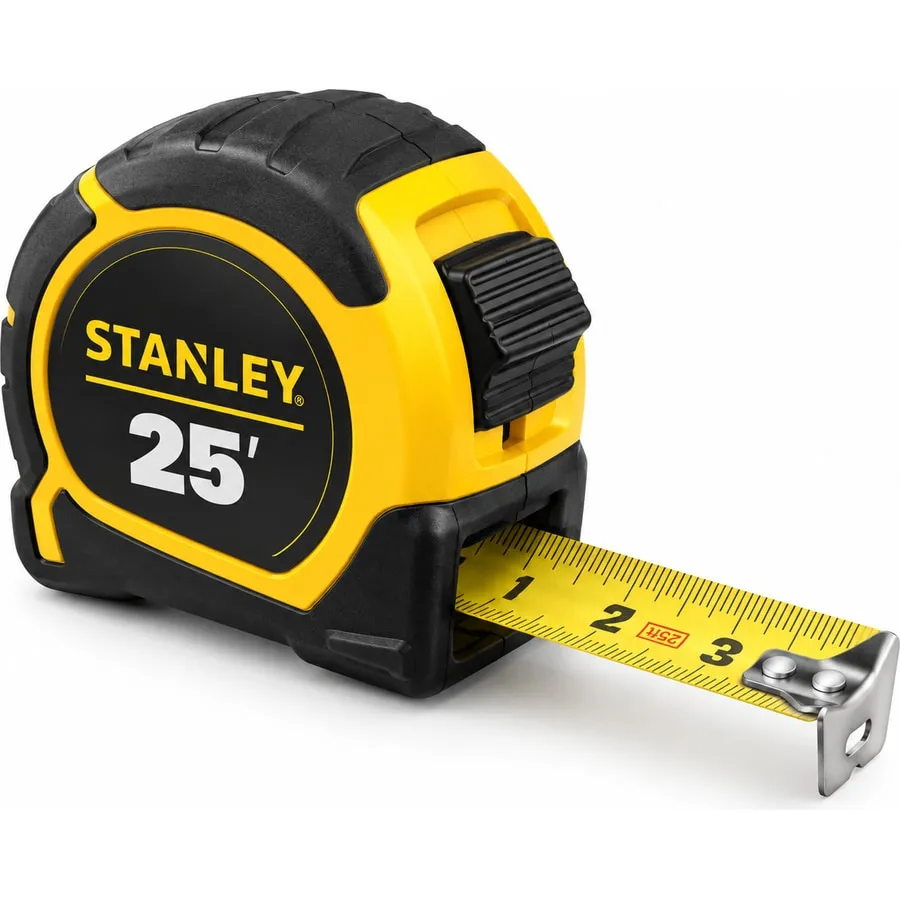
1 each Tape measureEssential
For the area figure this calculator runs on, and for cutting batts to the cavity.
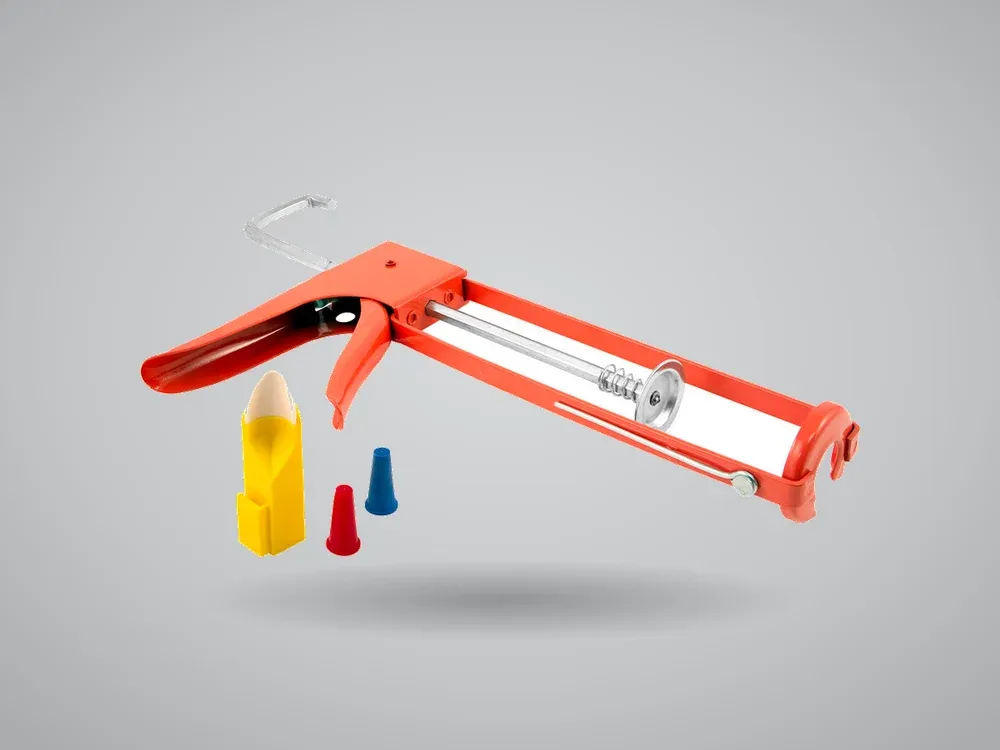
1 each Caulk gun
A dripless frame is worth the small premium when you are working above your head.

1 each Moisture meter
Check the joists and subfloor before you cover them.
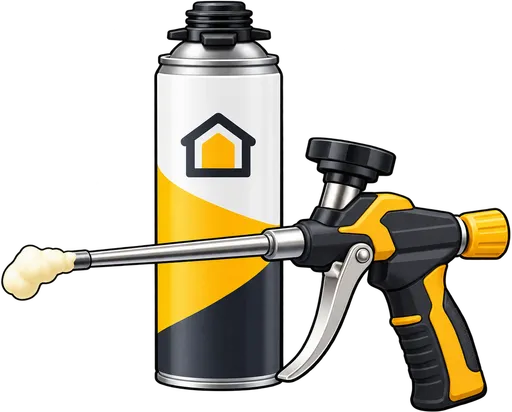
1 each Professional foam applicator gun
Controls the bead far better than a straw can, and lets you stop and restart a can over several days instead of wasting it.
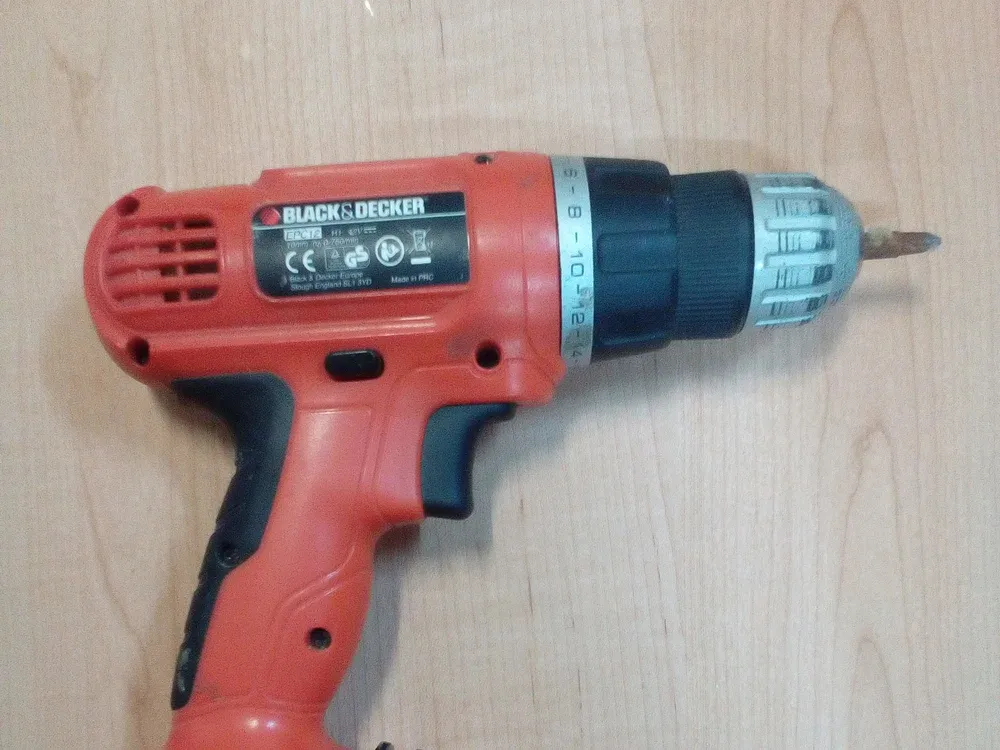
1 each Cordless drill
For baffles, supports, hatch hardware and furring.
1 each Insulation rake
Levels blown material to an even depth. Uneven depth means the thin spots set your real R-value, not the average.

1 each Rechargeable headlamp
Keeps both hands free while measuring or placing insulation, which matters when you are balancing on joists in the dark.
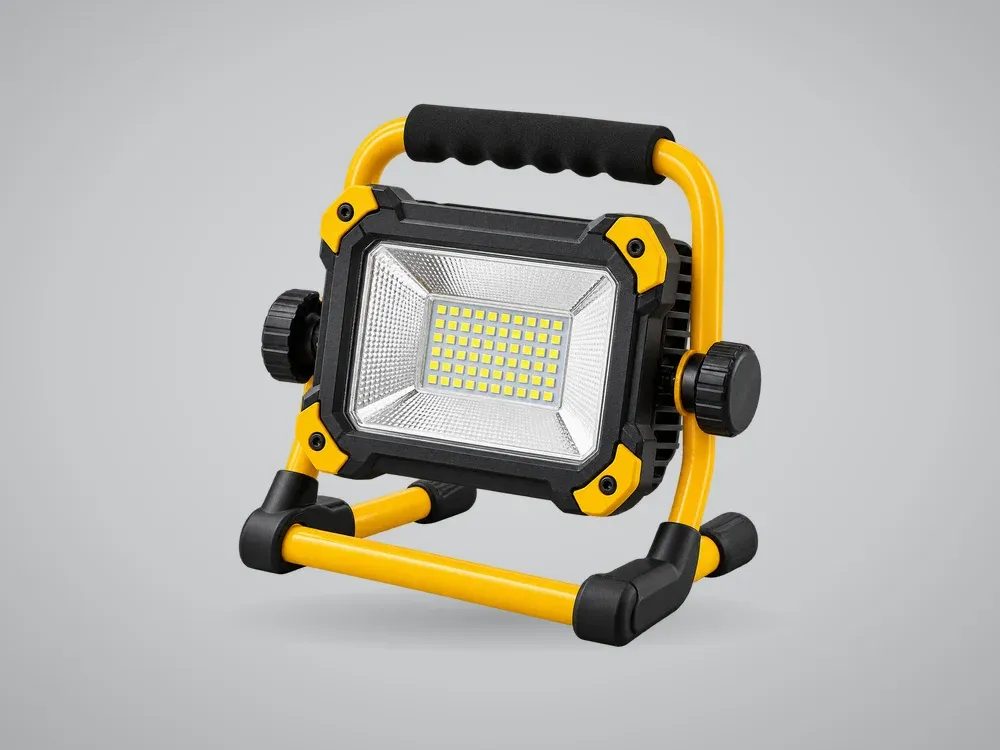
1 each Rechargeable work light
A headlamp lights where you look; a standing light lights the whole bay so you can see what you have missed.
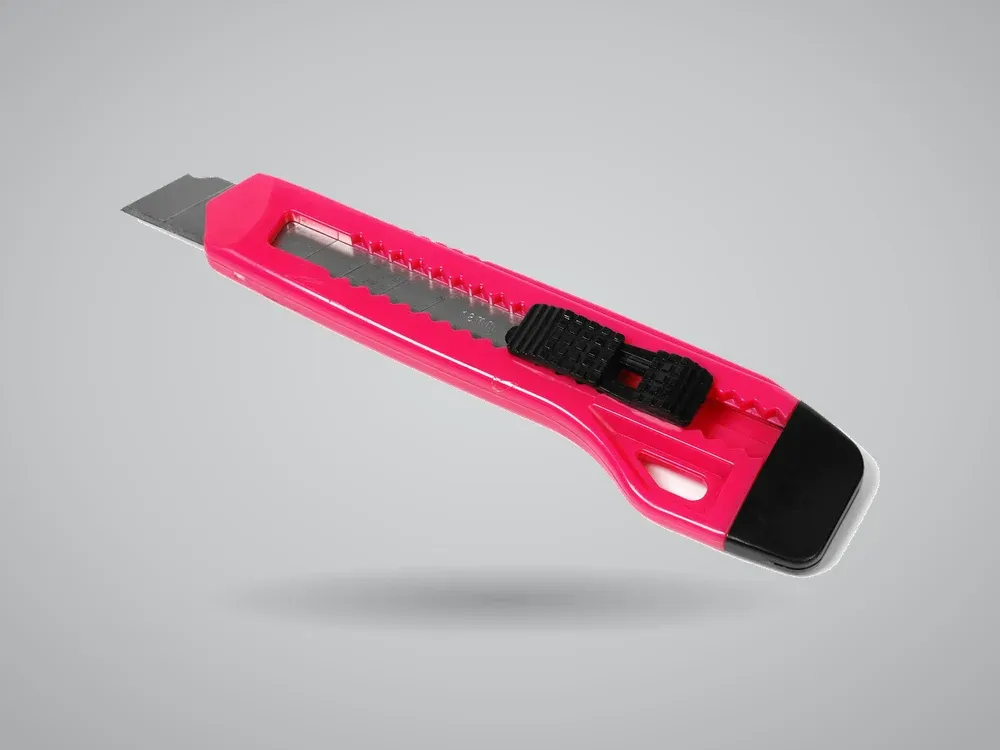
1 each Utility knife
For packaging, facing, baffles and board. Keep spare blades to hand.
1 rental Insulation blower rentalEssential
Usually free with a minimum bag purchase — ask before paying.
Accessories
Items specific to how this material gets installed.
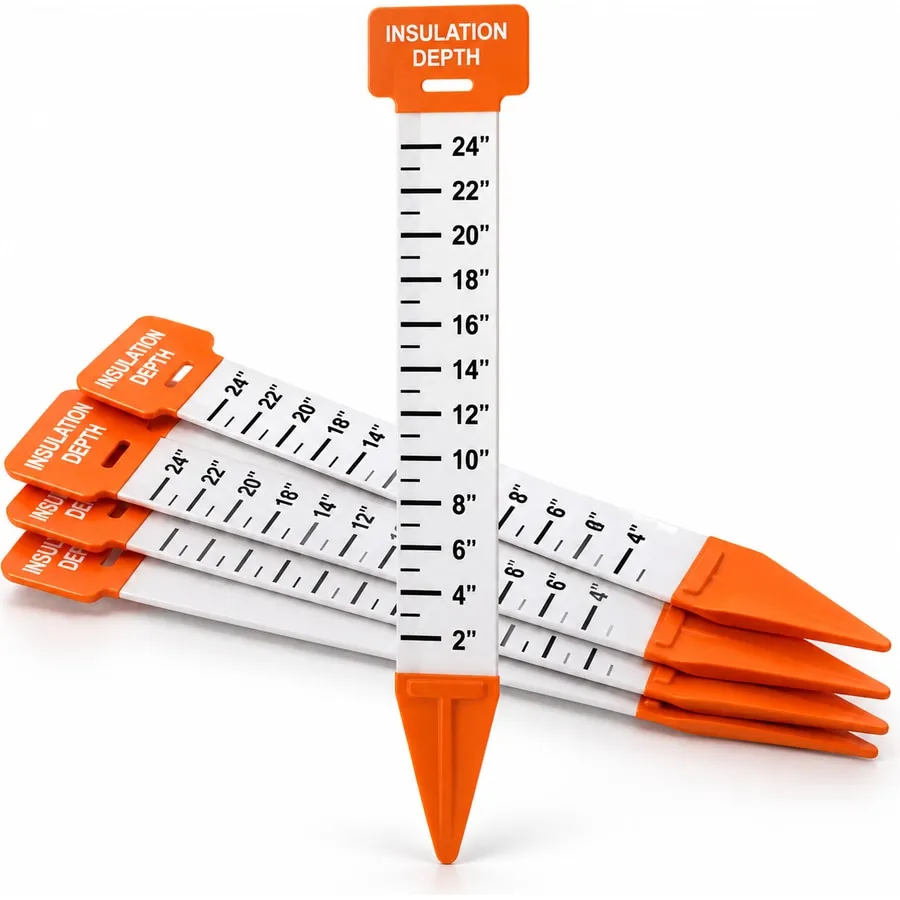
5 markers Insulation depth markersEssential
The only practical way to confirm you hit target depth across the whole area.
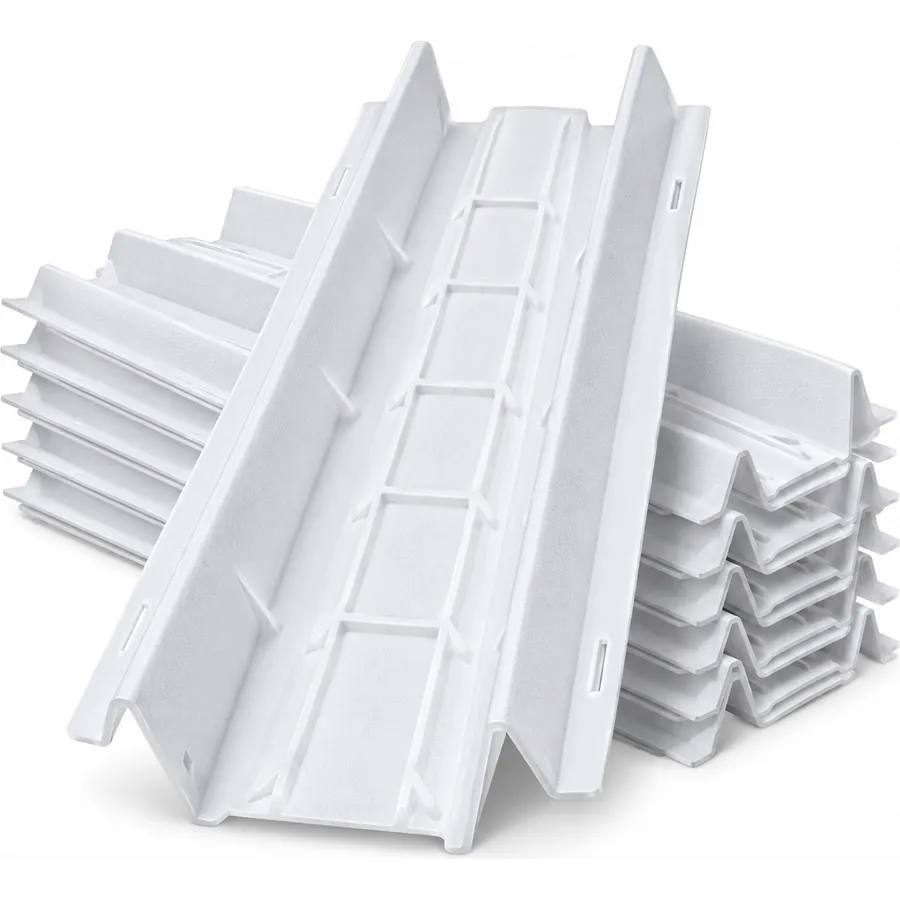
31 baffles Rafter vent bafflesEssential
One per rafter bay. Blocked soffit vents cause moisture and ice dams.
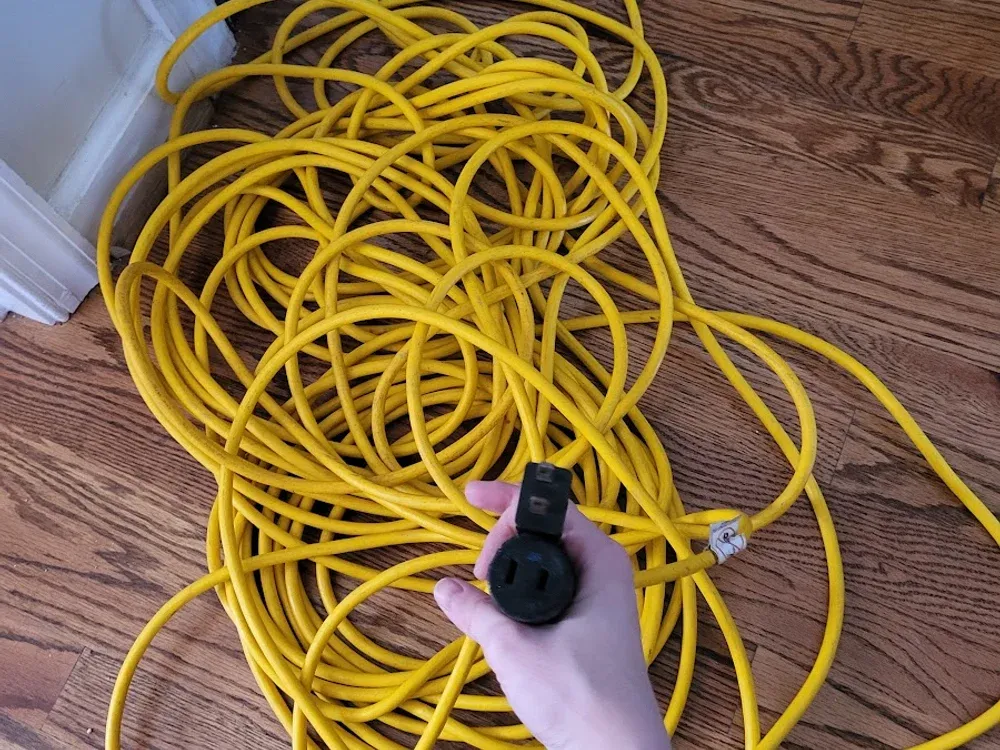
1 each Heavy-duty extension cord
Attics and crawl spaces rarely have an outlet.
2 sheets Plywood walk boards
Spreads your weight across the joists. Stepping through a ceiling is common.
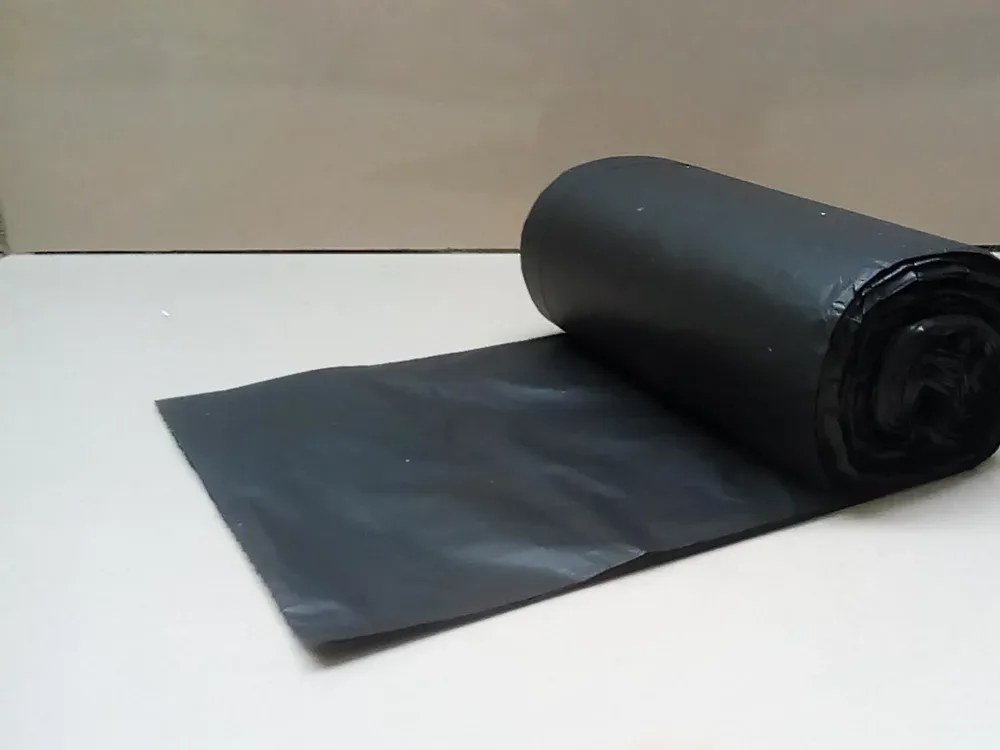
1 box Contractor trash bags
Heavy enough for insulation offcuts and old material without splitting on the way down the ladder.
Retailer buttons open a search for the item unless we have a specific product link — exact products, pricing and availability vary by store. Quantities are calculated from the dimensions in the example, not from a store's stock.
No prices here — we have no retailer product feed, so any figure would be invented. See our affiliate disclosure, and the tools page for typical costs of each item.
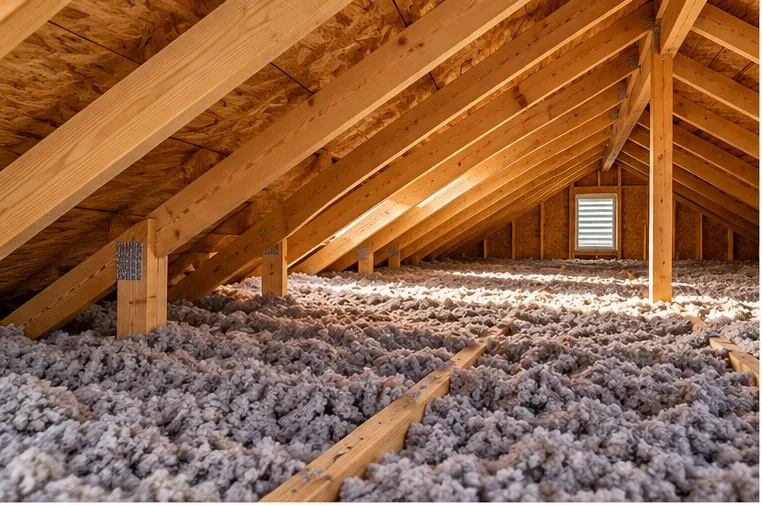
How long it takes
| Stage | Two people | Alone |
|---|---|---|
| Air sealing | 2–3 hours | 3–4 hours |
| Baffles and prep | 1–2 hours | 2 hours |
| Blowing insulation | 2–3 hours | 5+ hours |
| Verify and clean up | 1 hour | 1 hour |
| Total | 6–9 hours | 11–12 hours |
Blowing alone is the stage that suffers most — you climb down to reload every few minutes. If you can only get one helper for part of the day, use them for that stage.
Start here
- Run the calculator to get your target, depth, and bag count
- Check the tool list against what you own
- Read the step-by-step guide before buying material